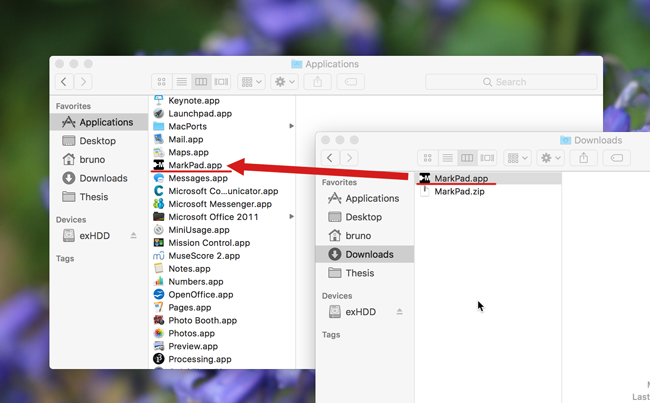
Installing the application First, let's install the application (that you can get here). Just unzip the file and put the application in your Applications folder as shown on the picture.
Aren't you bored of looking for files on your computer? Searching for webpages in your list of bookmarks? Performing repeated actions to control your applications? We present you MarkPad, the solution to your problems!
MarkPad is an application for Mac OSX that lets you trigger any action on your computer with a single stroke on your touchpad. It only requires one hand to trigger an action. MarkPad strokes start from the border of the touchpad, thus they don't conflict with pointing. Not convinced yet?
MarkPad is easy to install, runs in the background, does not drain the battery.
You can create your own strokes and assign them to actions depending on your needs.
Strokes/Actions can be organized in menus to help memorization.
Menus can contain actions to navigate the web, open applications, files and folders, perform application commands, launch scripts, etc.
This quick tutorial will walk you through MarkPad main features. After that, you will be able to define your own strokes and actions.
Installing the application First, let's install the application (that you can get here). Just unzip the file and put the application in your Applications folder as shown on the picture.
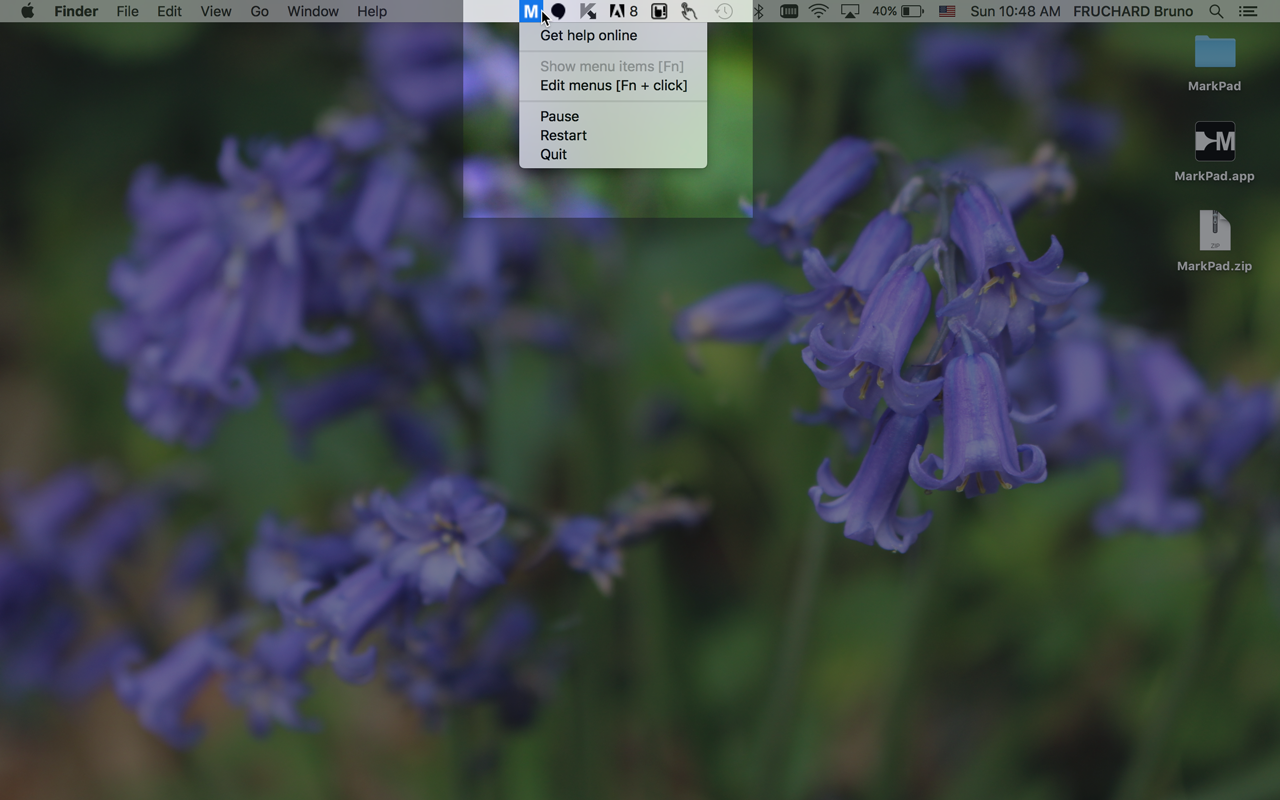
Running the application
Launch MarkPad. An icon will then appear in the main menu bar of your Mac OSX system. At launch, your system may ask to provide specific permissions for the application. This is needed if you want to display the MarkPad menu by pressing the  key. You can do it at a later time by adding MarkPad to the applications list in System Preferences > Security and Privacy > Privacy > Accessibility.
Activating commands
To trigger an action, you just need to perform a stroke. To display default starting areas, you can press the key (if you provided the right permissions). Press one of them for a short delay to display available strokes (i.e. novice mode). You can then slide to an ending area to trigger the specified command. Without delay while starting the stroke, the interface won't be displayed (i.e. expert mode).
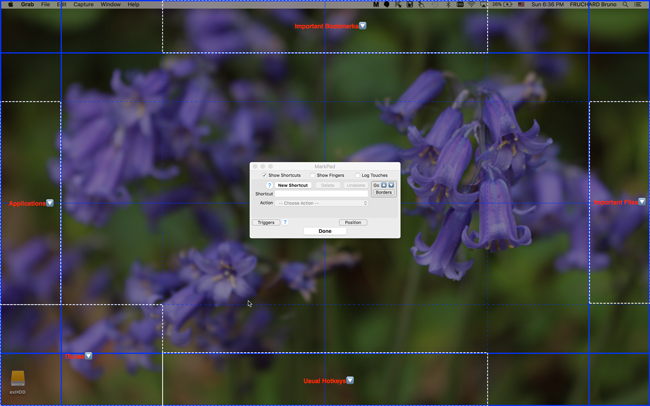
The MarkPad editor
You can now define your own strokes! Open the editor by going to the Markpad menu on the main menu bar. The blue rectangles on the sides of the screen represent areas where strokes can be started from (this can be customized, click here to see how). By default, five menus areas are already defined (white dotted lines). If you click on one of them and press their  button (appearing on its top-right corner), the strokes of this menu will appear.
Creating a menu
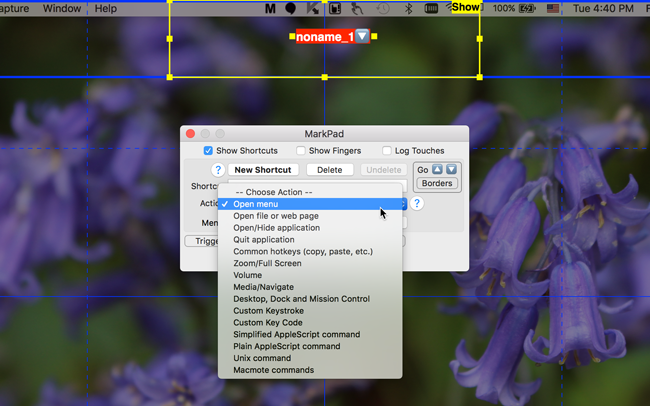
To define your own strokes, you need to create a menu first. By pressing the button  in the main dialog, a new area will be created. The stroke performed on the touchpad will start from that area. To define the area where it will end, select "Open Menu" as an action in the dropdown list in the main dialog.
Defining a new stroke
If you open the menu (click on on the top-right corner when the area is selected), you may see that 3 ending areas have already been created. You can change their positions, sizes and actions as you wish. You can rename the stroke to change how it will be displayed on its activation. The action to perform can be choosen inside the dropdown list, and its usage is explained by clicking on  when it's selected. Keep in mind that you can launch (Apple)scripts, so you can do almost everything you need!
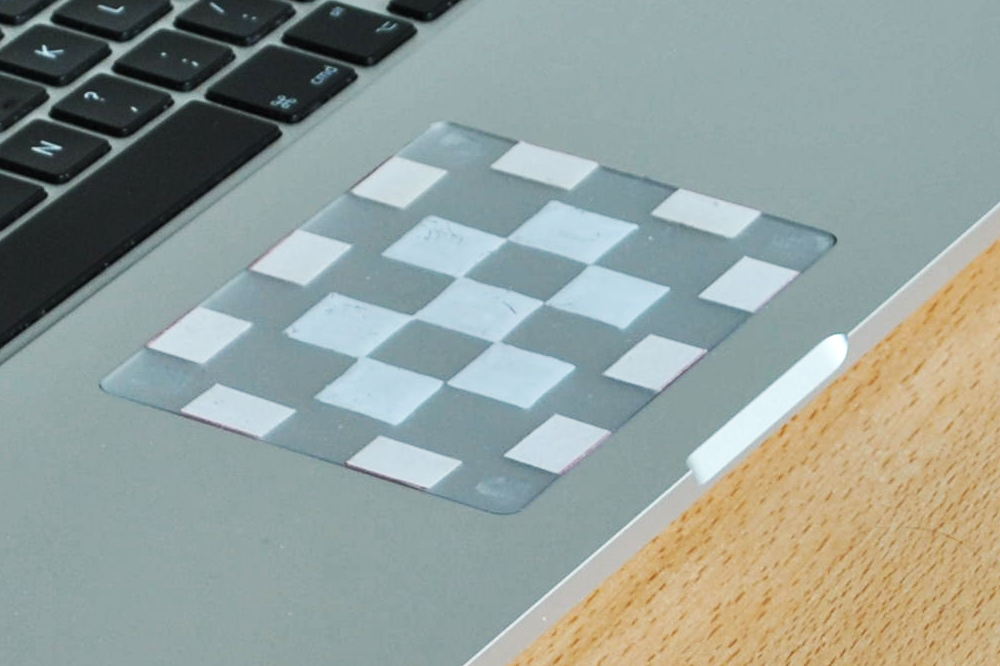
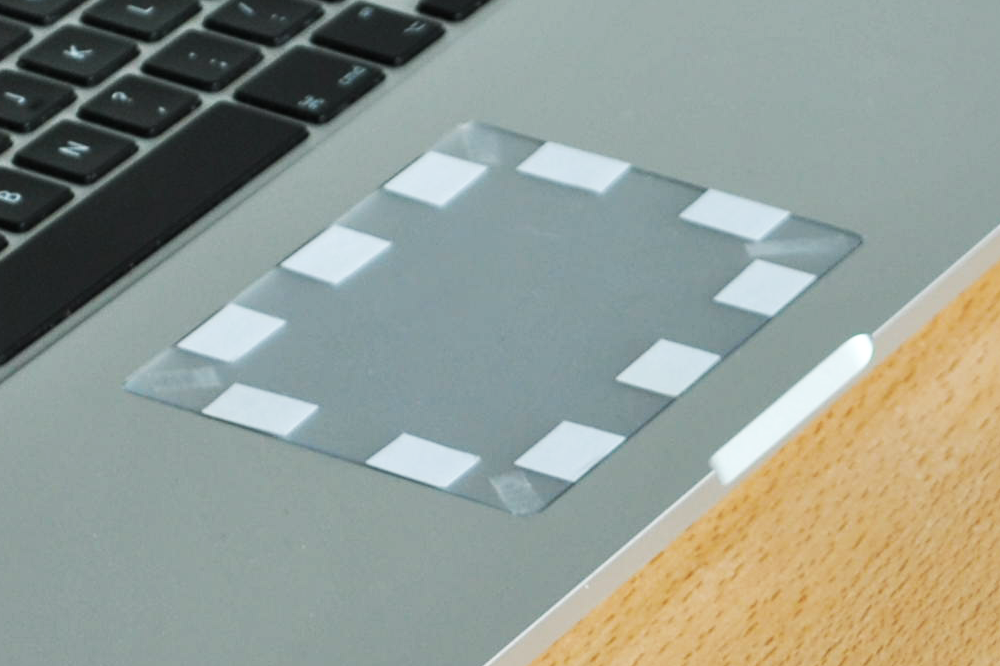
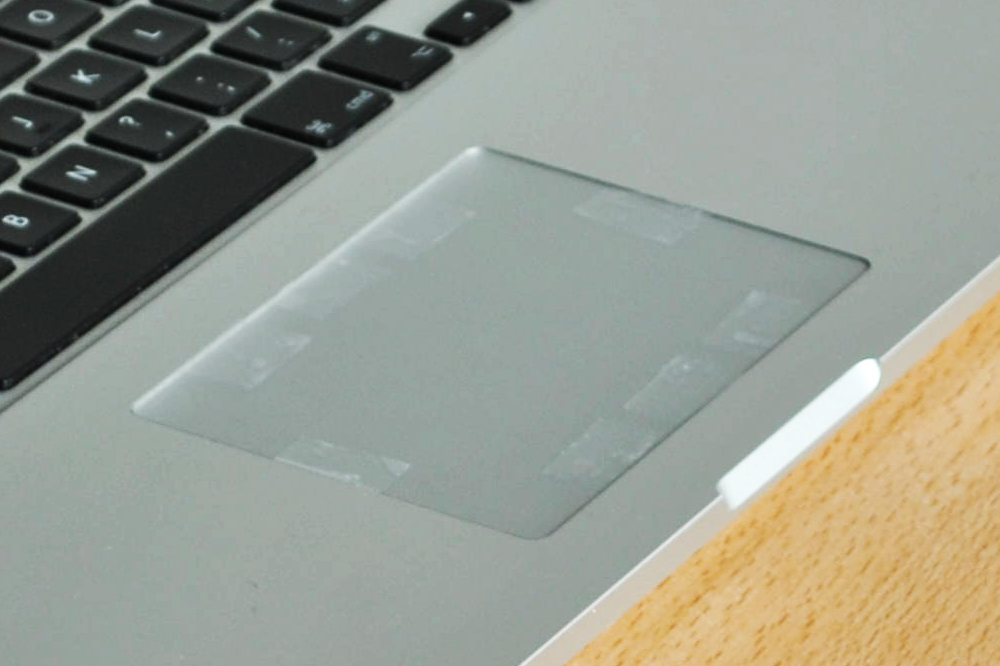
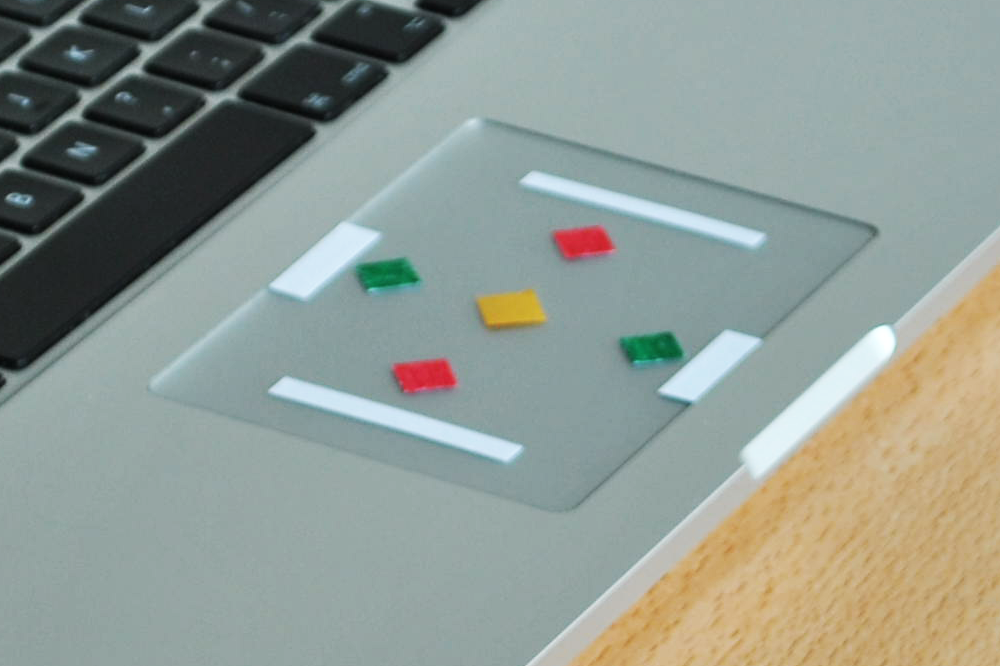
Using passive marks As the number of strokes used increase through time, you may be less accurate and trigger the wrong ones. This may be annoying as it could trigger involuntary actions that may take time to cancel or undo. A simple and cheap solution to keep a good accuracy is to add passive marks on the touchpad. You may use them to represent starting or ending areas. Let your imagination be free!
Resizing active borders Borders of the touchpad are used to detect strokes as they start. However, it may trigger more or less involuntary activations depending on how you interact with your touchpad and your computer (e.g. touching the touchpad while typing on the keyboard). Thus, you can customize their sizes and positions as you wish. For that, you just need to press the button "borders" on the main dialog to enter the editing mode and edit them as they were strokes areas.
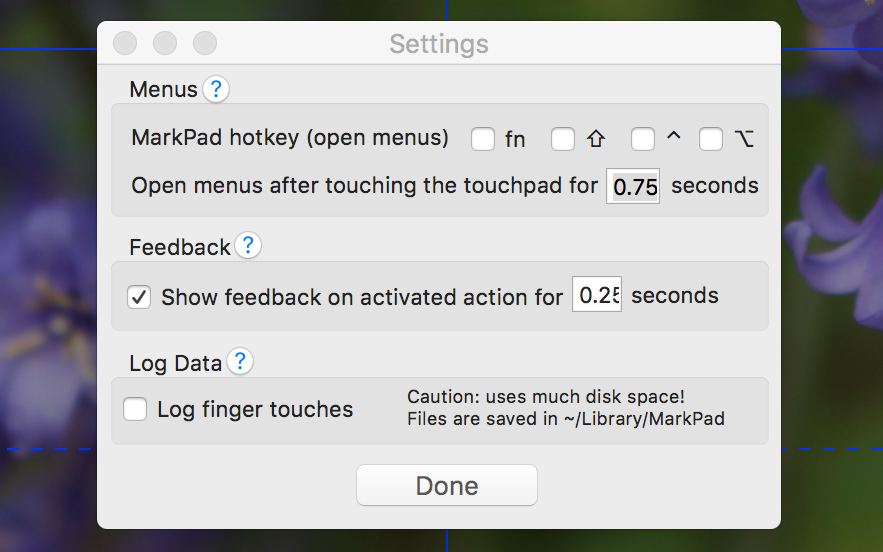
Changing the settings Click the cogwheel button on the top-right corner of the main window of the editor to open the settings window. From there you can change the keys used to show the MarkPad menu (max. 2). You can also hide/show feedback, change its delay and menus appearance delay. Finally you may want to enable touches log, to record interaction with your touchpad. Log files are saved in ~/Library/MarkPad/.
Sources of the projects are available on demand. If you have any problem with the application or need more information about it, please e-mail me.